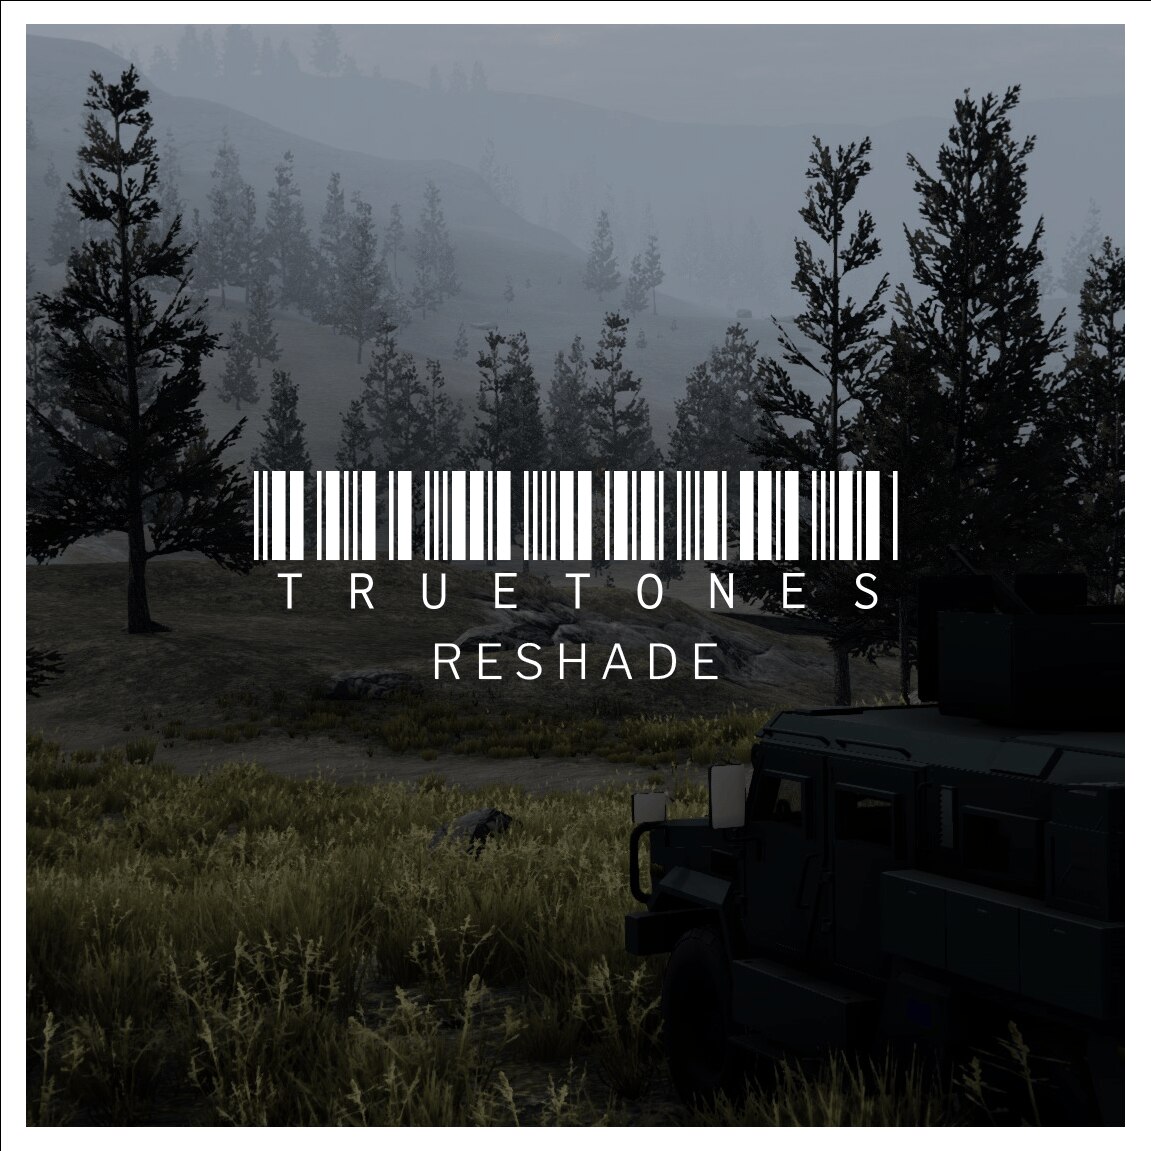
TrueTones Graphics
TrueTones is a minimal LUT and cinematic ReShade preset that aims to improve the overall realism and grittiness of Ravenfield, all with a low impact on performance. I didn’t notice a marginal drop in FPS on my setup, but if it does, the settings are configurable.
- Custom LUT and better colour grading
- Ambient occlusion on weapons
- Improved night vision effects
The installation is not as simple as clicking subscribe, and requires a bit of manual effort to set up if you haven’t installed ReShade before. Here is the installation procedure:
- Subscribe to this workhop addon like a normal mod and navigate to the "C:Program Files (x86)Steamsteamappsworkshopcontent6364803141407496" folder, or the respective location if you have changed the Steam install location. Inside there are three items we care about the "reshade-shaders" folder, "TrueTone-Reshade.txt", and "TrueTone-Reshade-NoNV.txt".
- Change the file extensions of the two .txt files to .ini by renaming them. Then copy the two .ini files to the root directory where Ravenfield is installed (you can find this folder by going to Ravenfield in your Steam library and right-clicking it in your list of games -> manage -> browse local files).
- Copy the "reshade-shaders" folder to the root directory.
- Go to the ReShade website[reshade.me] and download the latest release of ReShade.
- Run the installer and select "Ravenfield (ravenfield.exe)" from the dropdown menu. If it doesn’t automatically detect the game, you will have to manually find the game’s exe.
- Select the "DirectX 10/11/12" option
- In the "select preset to install menu," click browse and open the "TrueTones.ini" file you just copied to the root directory.
- Click next and next again and let it download the required files. Click finished, and you’re good to launch the game.
- When you open the game for the first time you need to change one setting. This is a crucial step to follow and is required to properly setup the depth buffer. Open the ReShade menu with the home key and skip the tutorial (or not). At the bottom of the gui, there should be an "edit global preprocessor definitions" button. Click on it and in the dropdown menu it opens, change the "RESHADE_DEPTH_INPUT_IS_UPSIDE_DOWN" from a 0 to a 1. Close the menu.
- In the video settings, turn color correction on.
- Everything should be working now. You will also probably want to turn off the letterbox effect and night vision, and enable performance mode.
- ReShade’s settings menu is bound to home, and it lets you tweak and turn off effects if you dislike them.
- You can toggle the colouring effects with the minus key and the letterbox effect with plus.
- The night vision shaders are bound to N. If your keybind to toggle night vision is different, you will have to change it. Also, spamming N can de-sync the shaders from the in-game night vision.
If the preset is lagging your game, you can try editing the MXAO shader and reducing the sample quality, or turning it off all together. If the night vision effects are annoying, you can change the configuration file to "TrueTone-Reshade-NoNV" at the top of the ReShade menu. Finally, if you want to uninstall the ReShade preset it is as easy as running the ReShade installer again and selecting Ravenfield again. You can then select uninstall from the list and it will delete ReShade.
Mods seen in screenshots are 符号看象限’s EZ GUN PACK and Sofa’s Vanilla+ vehicles/skins. Maps are SudoName’s Air Force Down and Sofa’s Wooded Hills/Border Highlands

